10 Wildlife Photography Tips by Shannon Wild
Posted on
It's World Photo Day so our founder, National Geographic wildlife photographer and filmmaker, Shannon Wild thought the best way to celebrate this special day is to share 10 tips for photographing wildlife.
1. EYE CONTACT
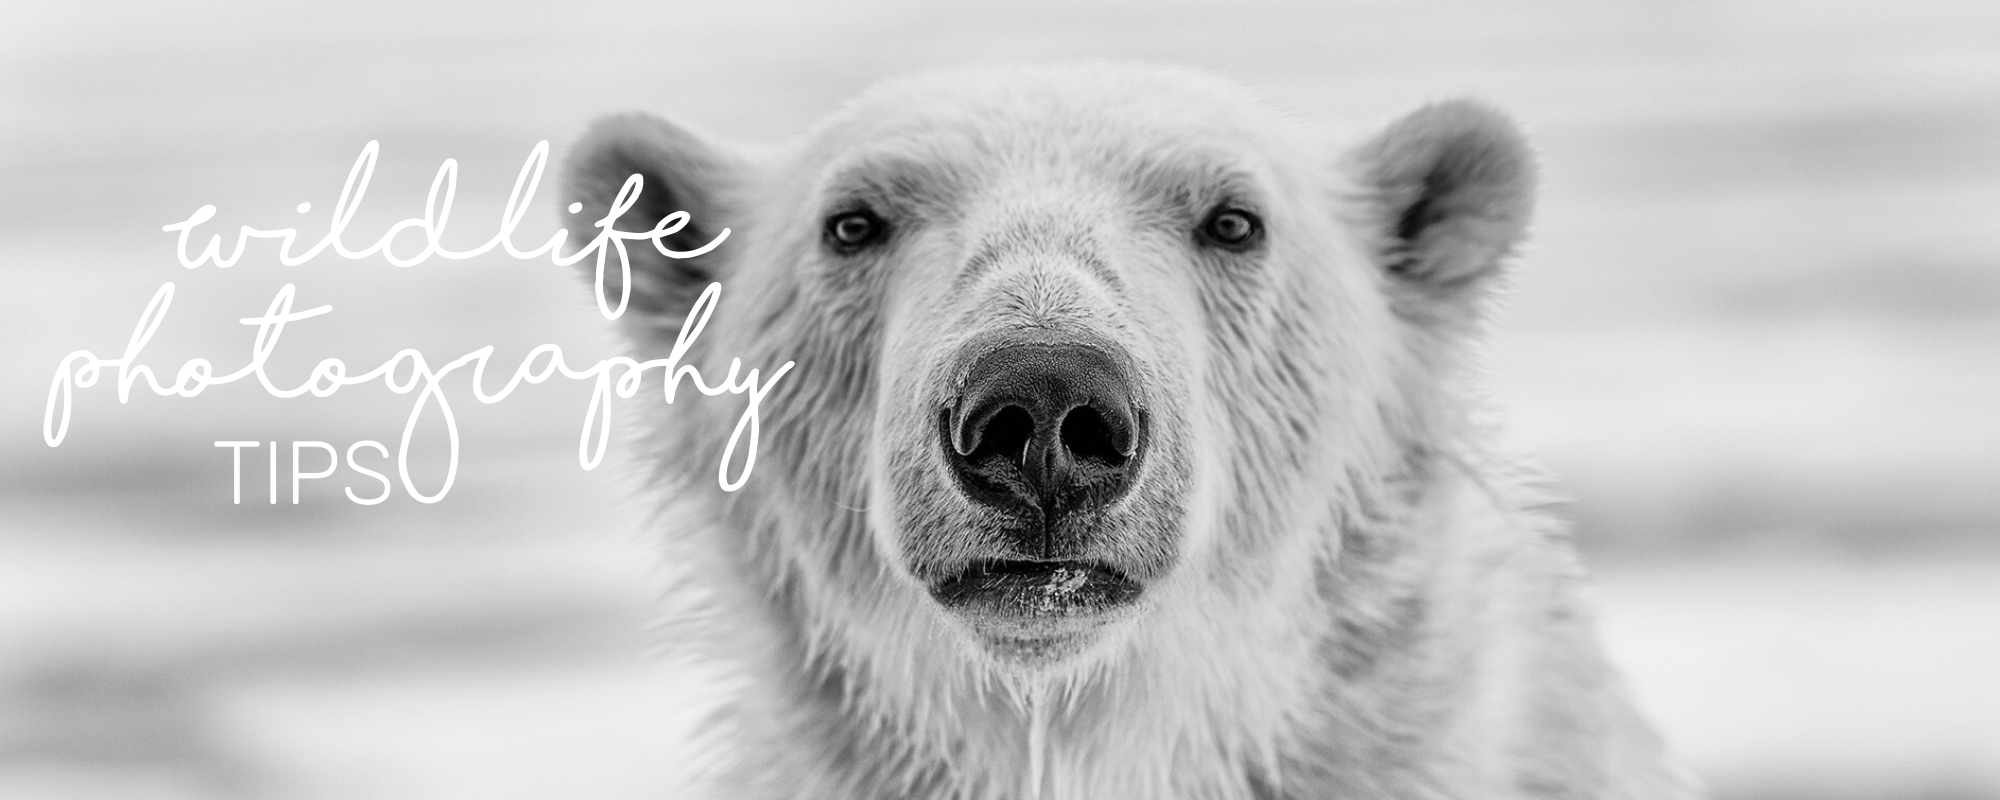
When it comes to wildlife photography eye contact can transform a good image into a great image by connecting with the viewer on a deeper level.
 2. CAPTURE THE ACTION
Capturing wildlife behaviour can be some of the most rewarding and challenging images you’ll ever take. The higher your shutter speed, the better you’ll be able to capture movement sharply, such as this Verreaux's Sifaka running in Madagascar.
The middle focus point on your camera is the most accurate, especially in low contrast or low-light situations. Use single-point focus, press the shutter half way and then recompose your shot to frame it how you want. If your subject is moving, switch to AF-C, which is Continuous Auto-Focus on Nikon (known as AI-Servo AF on Canon) and the camera will do it’s best to track the moving subject as you follow it. And don’t be afraid of Manual Focus, sometimes it’s best if your camera is struggling to find focus for you.
 3. COMPOSITION
Composition is so important to a strong image.
When getting used to shooting with composition in mind it can help to shoot slightly wider and experiment with cropping options after you’ve downloaded your shots. You will soon learn what is pleasing to the eye while looking through the viewfinder. Don’t forget to really ‘look’ at your whole shot when framing through the viewfinder.
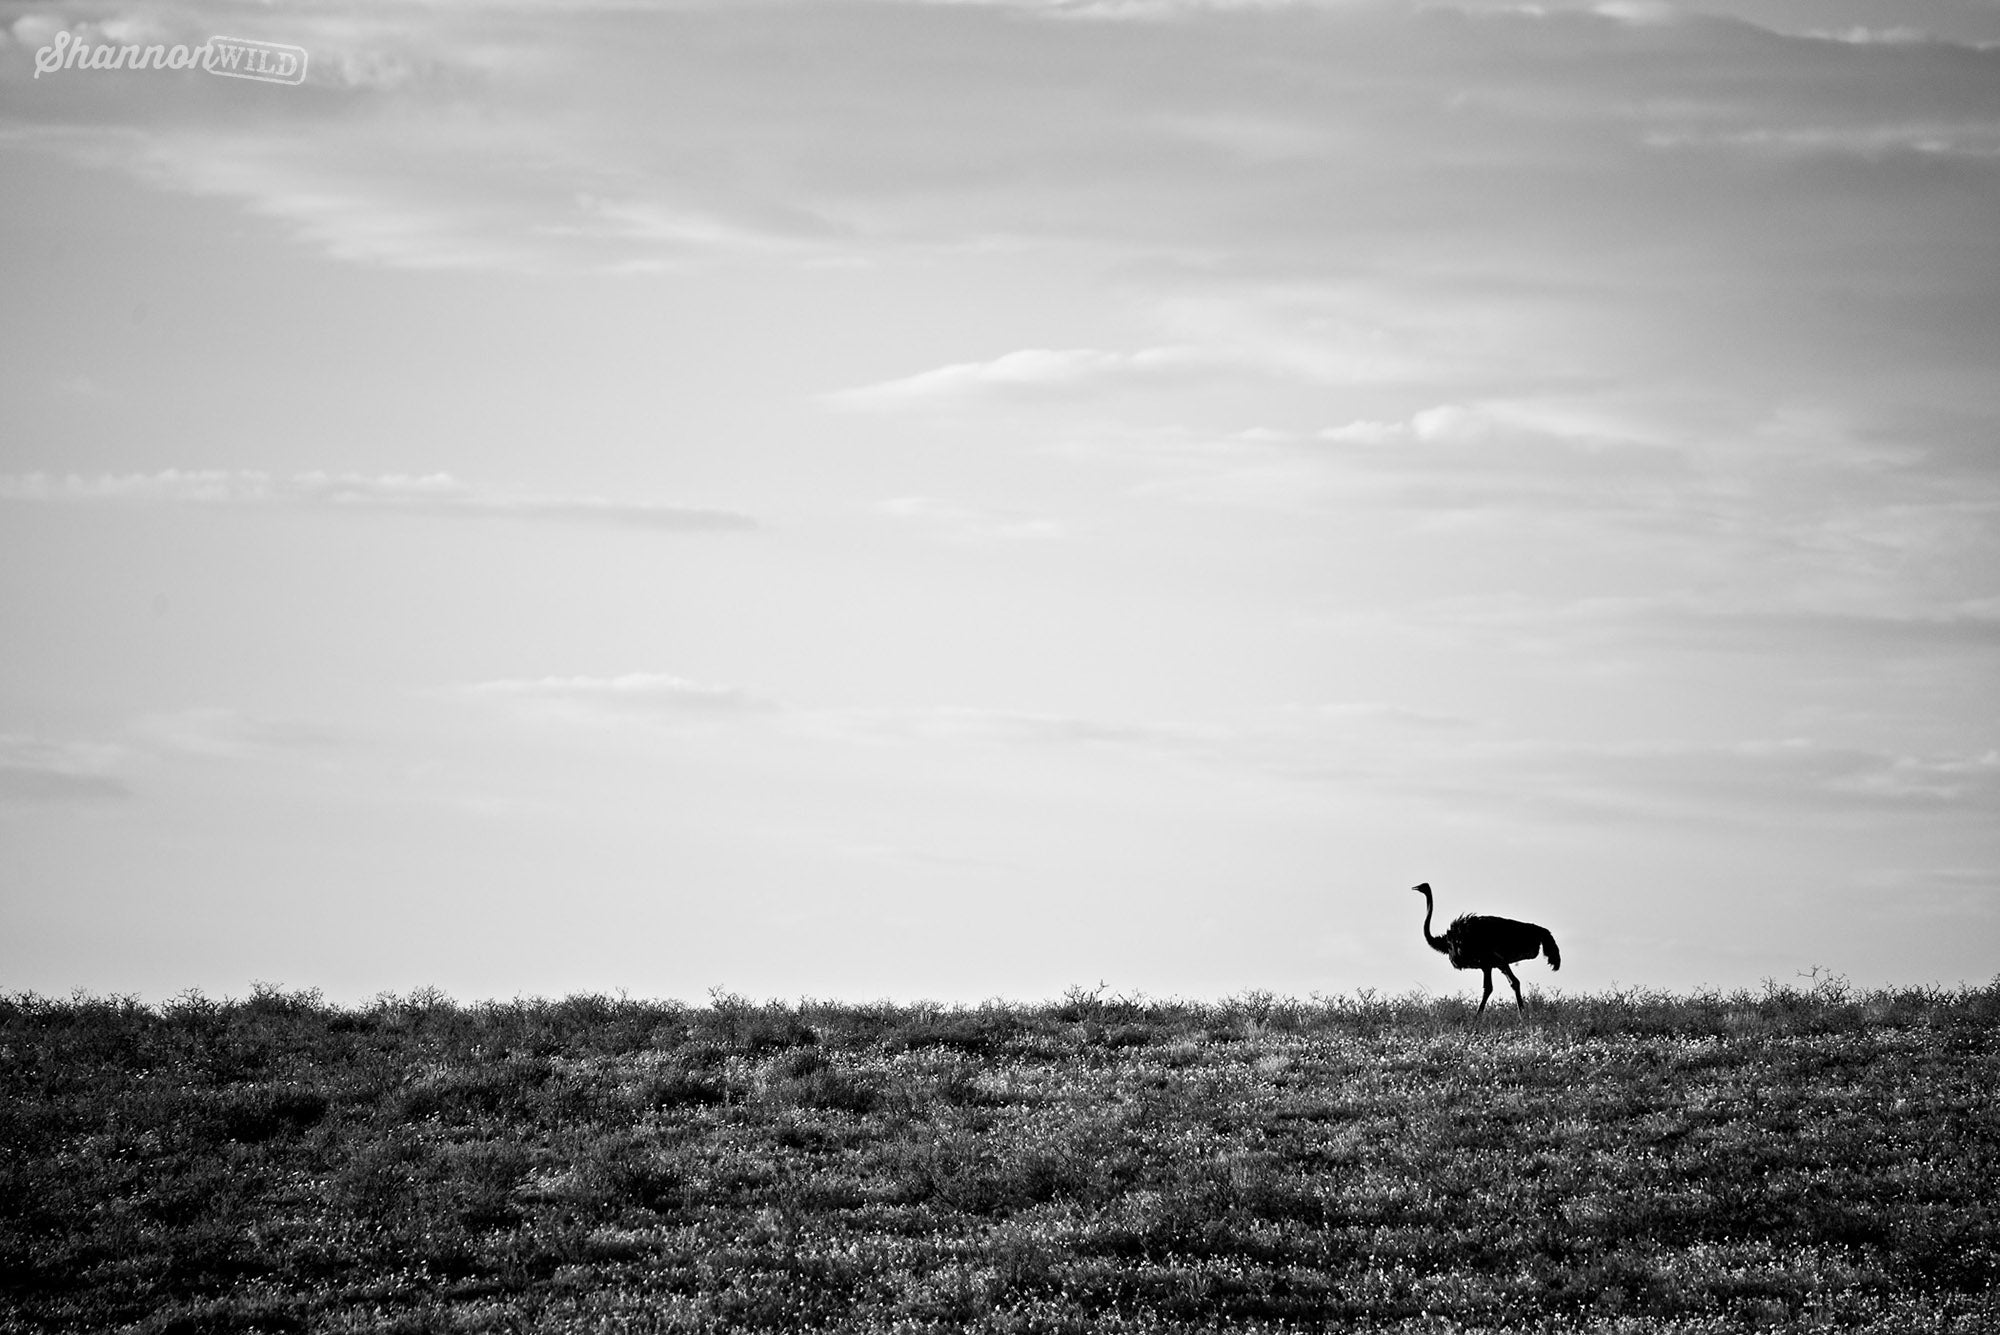
Utilizing ‘negative space’ can really add impact to an image, such as this Ostrich in the distance. I made sure to consider the ‘rule of thirds’ when composing this shot so that the Ostrich is ‘looking into’ the frame and if you put a grid (two vertical and two horizontal lines) over the image you will see how I’ve placed the Ostrich in the bottom right third of the image. Most cameras will let you set these lines to be visible in your viewfinder as you shoot to help you compose, a very handy tool when starting out.
 4. LIGHT
When it comes down to it, photography is all about how to capture light. Early morning and late afternoon provides some of the most gorgeous light to shoot in and as you become more confident with your gear and understand how Aperture, Shutter Speed and ISO all work together in harmony you’ll learn which settings are best for any given situation in low light such as dawn or dusk like this Springbok that I photographed after 7pm in South Africa in April, which is the middle of Autumn. When working in low light stability is also really important, I used a beanbag on an open car window to stabilize my long lens (Tamron 150-600mm) for this shot.
5. GET LOWER
Perspective is so important and I give more examples of why in my next tip, but one point I am constantly making is to ‘get lower’! If it’s safe to get down to the subjects perspective it will open up a whole new world to your wildlife photography. By laying down on the dirt to capture images of this Leopard Tortoise in Namibia I was able to get a tortoises perspective, as well as give a sense of its environment and nice separation of subject to background. If I had of shot this image from standing, or even crouching height the image would have been full of just a dirt background and nowhere near as visually engaging.

6. CHANGE YOUR PERSPECTIVE
Don’t forget to mix up your perspective, move around if you’re safely able to. These four shots are the same Flap-necked Chameleon on the same branch; I simply changed my position to capture a variety of scenes.

7. THE DETAILS
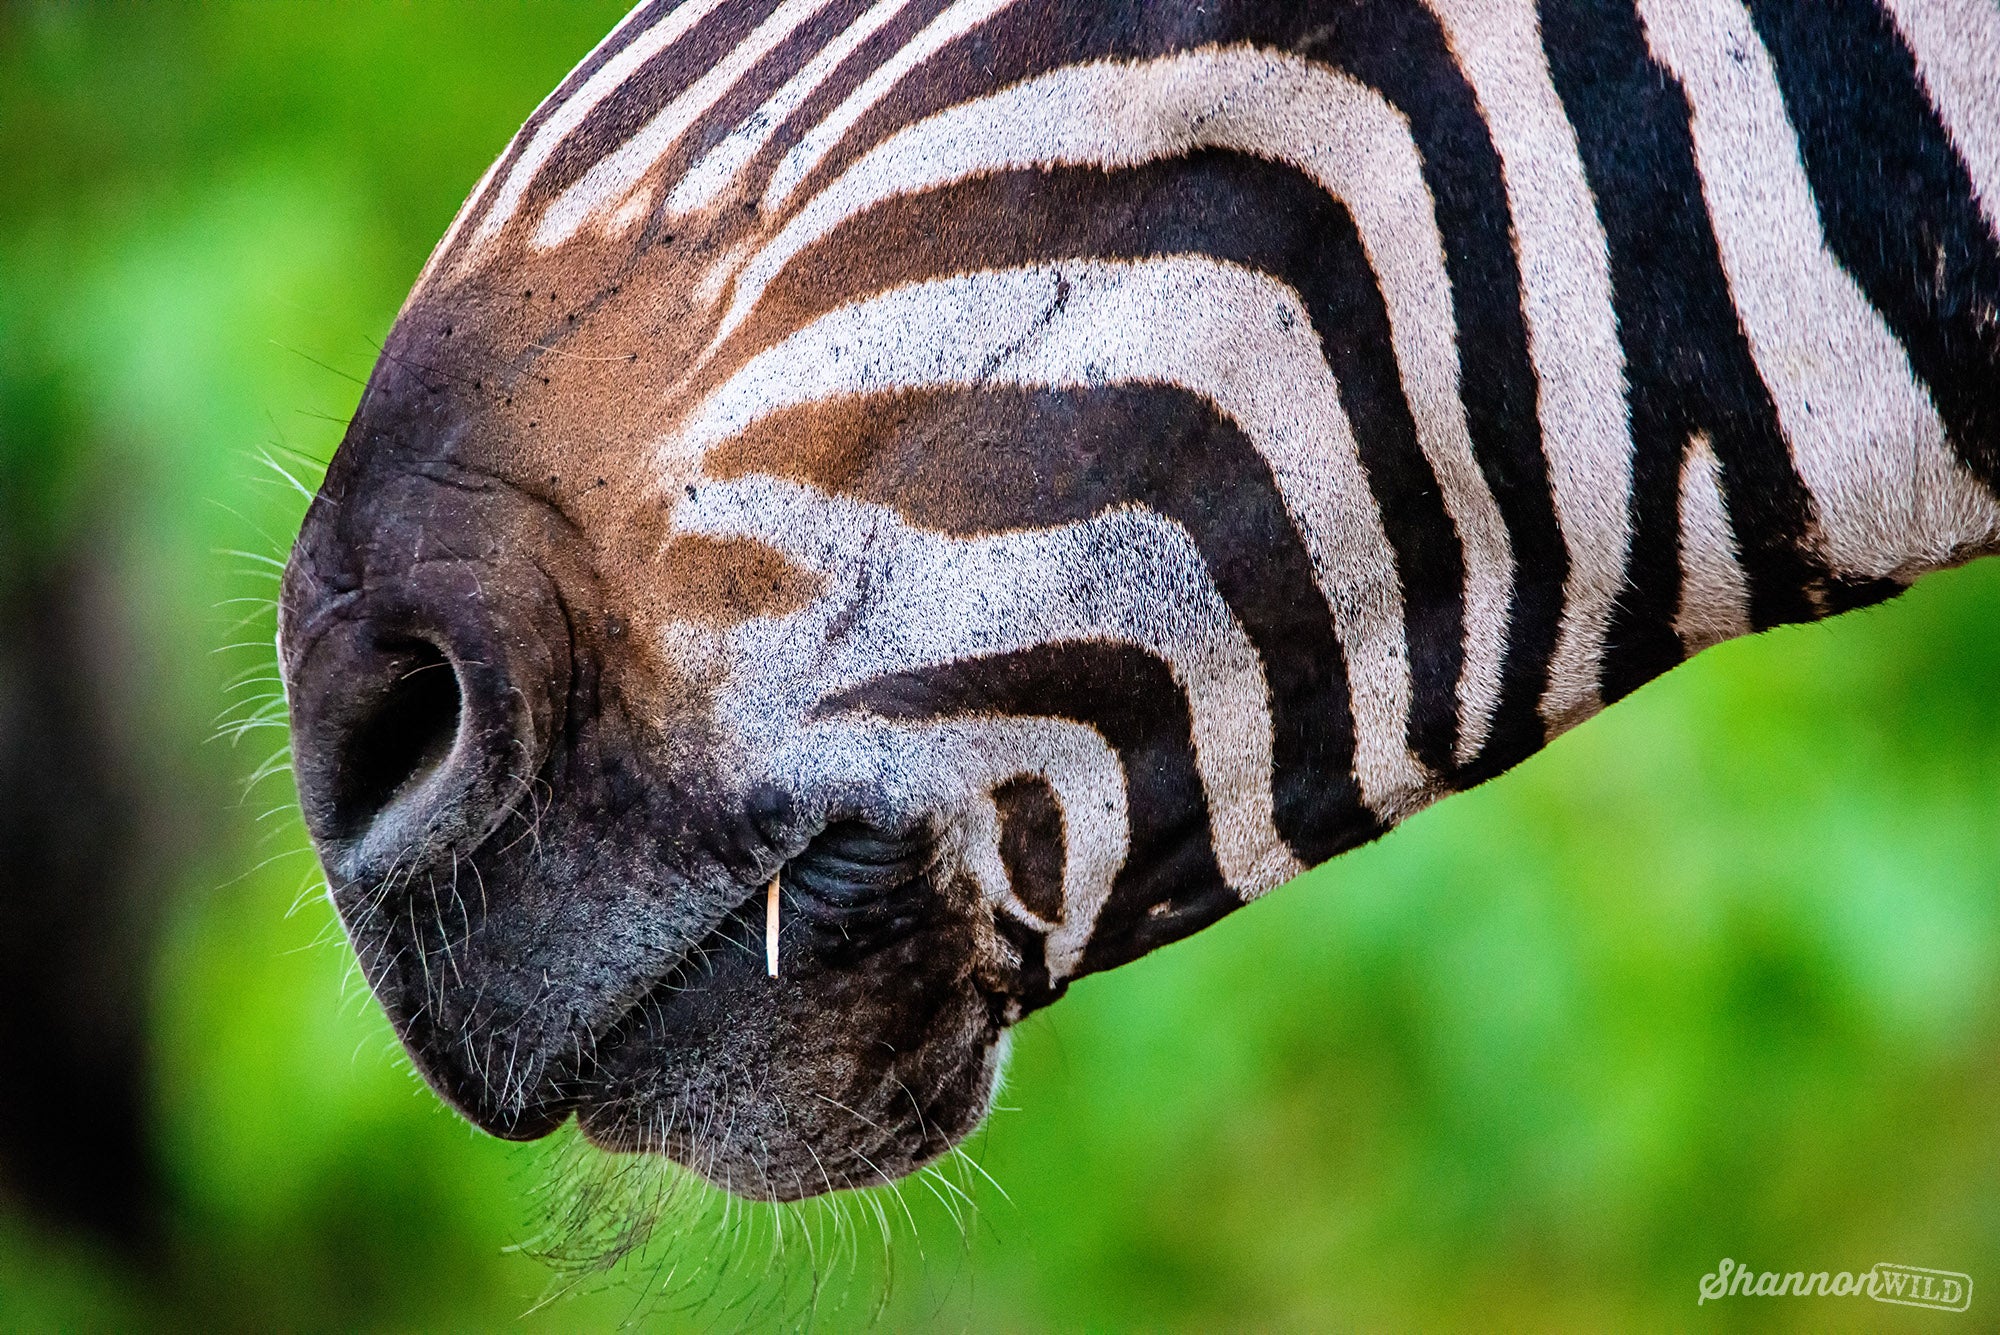
Not every wildlife image has to be a full body or even portrait. Remember to capture the details! I shot several different ‘close-up’ detail shots of this zebra, including the mane, the ears, a tight if it’s beautiful striped pattern and this one of its muzzle. This stands out as a favourite to me because of that one little piece of dry grass in the lips, which gives the image another point of interest.

8. ENVIRONMENTAL
Variety is key and that includes capturing wildlife within its environment using wide-angle lenses such as this Giant Malagasy Chameleon crossing a road in the iconic Baobab Alley in Madagascar. You can probably tell I also laid down on the dirt for this low perspective and note the eye contact of the chameleon. Be sure to combine several of the tips I’ve outlined here to create really strong images.

9. BLACK AND WHITE
There’s nothing quite like the classic beauty of black and white. I absolutely adore the simplicity and detail you can bring out by converting an image to monochrome. I always shoot RAW so I start with a colour version and will do a black and white conversion later to taste. I especially love bringing out skin detail or atmospheric skies with this technique.

10. SLOW SHUTTER
Photography is supposed to be fun and creative. Using a slow shutter speed on a moving subject can give you some really interesting results. Not only that, if your light has faded to where you can no longer take a sharp, steady shot then switch to purposely shooting with a slow shutter and get creative! What have you got to lose? Not only are these Wildebeest in Kenya moving but I also moved the camera to ‘track’ with them as I shot to emphasis the motion blur in the background.
I’ve used a shutter of 1/8 second here and tried to keep the viewfinder on the front Wildebeest as I pressed the shutter. It will likely take several shots to get one that aesthetically works so be patient and keep trying … and remember … it’s supposed to be FUN!
To learn more tips check out my 60-page Wildlife Photography How-To E-Book - http://bit.ly/WildlifeBook
Or my Pet Photography How-To E-Book! - www.wetnosefotos.com
Don’t miss out on future posts so be sure to sign up for our Wild Tribe (scroll below to sign up).
New products and discounts first!
RETAIL & STUDIO
The Farm House, R527
Hoedspruit LP South Africa
Whatsapp: +27 79 225 4988
contact@wildinafrica.store
. . . . . . . . .
HEAD OFFICE
65/2 Arbor Ave, Robina
QLD 4226 Australia


 2. CAPTURE THE ACTION
 3. COMPOSITION
 4. LIGHT

